Grocery delivery, end to end
GroGo
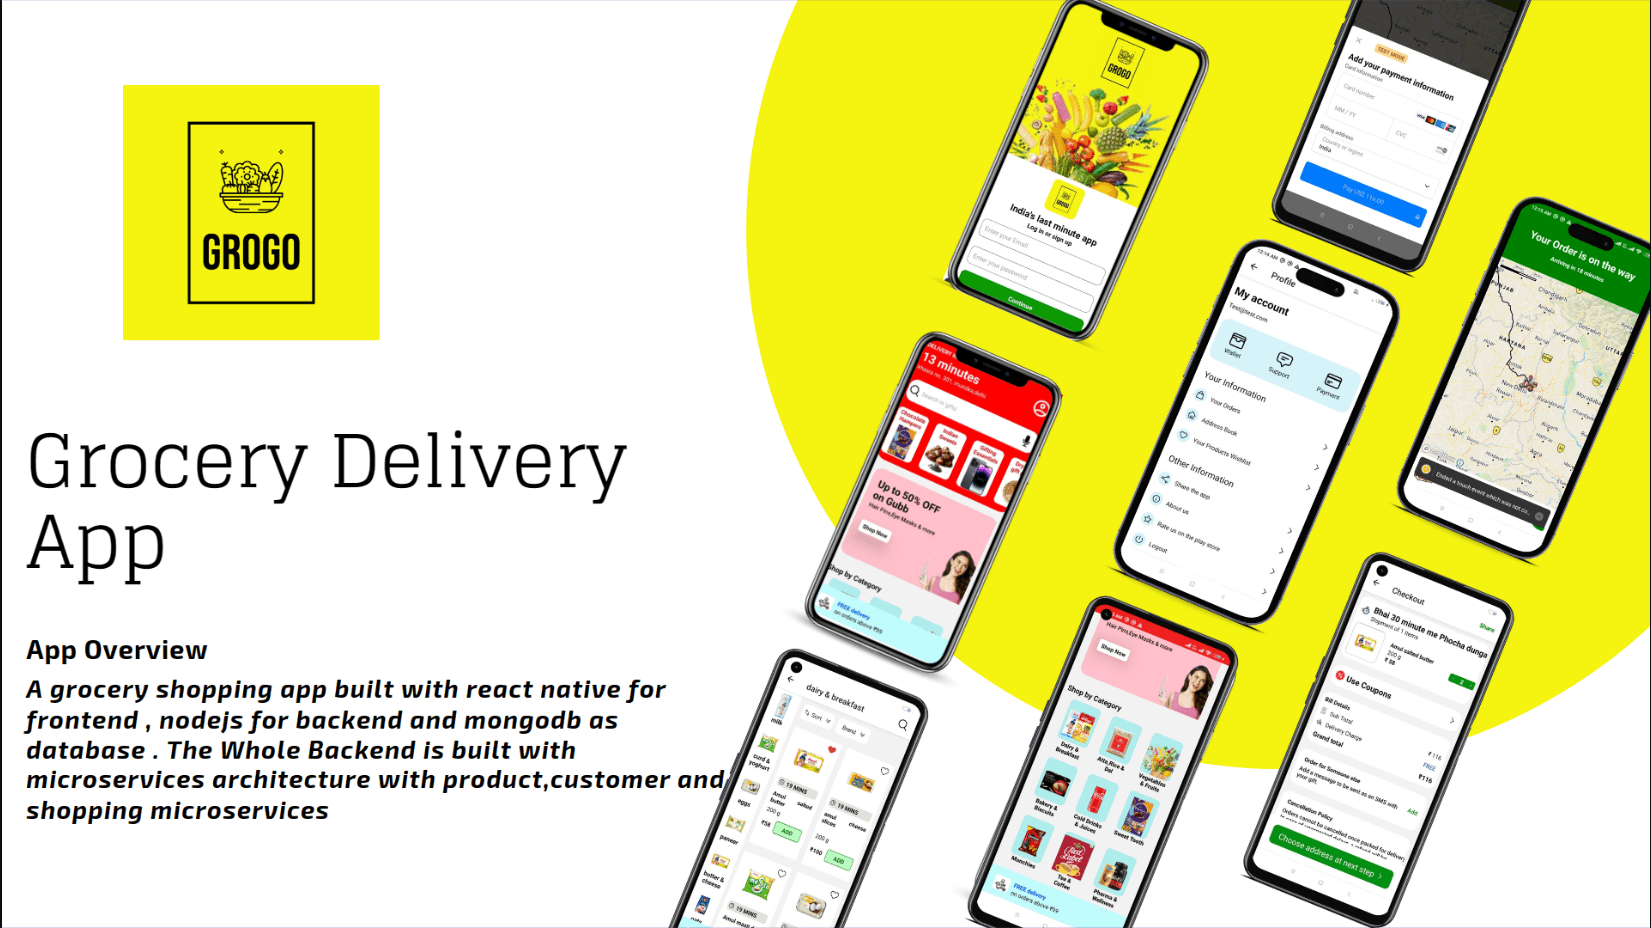
React Native grocery delivery with Mapbox, Stripe, and microservices talking over RabbitMQ.
Overview of Project
<p align="center"> A grocery delivery app built with react native , nodejs and mongodb. </p> <!-- ............................................................................................................................................. -->Tech Stacks used
# React Native for Android app development
# Redux toolkit for state management
# Nodejs for Backend
# Mongodb as Database
# Mapbox for map feature
# Stripe for payment gateway
# Firebase cloud storage for storing images
# Docker for Containerization
# Nginx Reverse Proxy
# RabbitMQ as a message broker
# JWT authentication
# Hashed password saving in the MongoDB database
# RESTful API using ExpressJS
Key Features
# Login using email and password
# Searching products by voice
# Adding and removing products from wishlist
# Adding Different Address to a user by selecting on the map
# Payment feature by stripe
# Filtering Products based on different categories
# Sorting Products based on Price in ascending and descending order
# Separate screen for seeing user's all orders
# Free Delivery on orders above 99
# Persisting User Cart
# Persisting Current User
# Checkout Feature
# JWT Authentication
# JWT cookie authentication
Getting Started
Prerequisites
Before running the project, make sure you have the following installed:
# For Backend
- Node.js (v18 or higher)
- Docker & Docker Compose
- MongoDB (if running without Docker)
- CloudAMQP account (for RabbitMQ message queuing)

# For Frontend (React Native)
- Node.js (v18 or higher)
- React Native CLI
- Android Studio (for Android development)
- Xcode (for iOS development - macOS only)
- Java Development Kit (JDK 11 or higher)
- Android SDK
Backend Setup
Option 1: Using Docker (Recommended)
-
Navigate to backend directory
cd backend_app -
Create environment files
# Create .env files for each service touch customer/.env touch products/.env touch shopping/.env -
Set up RabbitMQ with CloudAMQP
The project uses RabbitMQ for message queuing between microservices. Follow these steps to set up CloudAMQP:
a. Create CloudAMQP account:
- Go to CloudAMQP
- Sign up for a free account
- Create a new instance (select "Little Lemur" for free tier)
- Note down the AMQP URL from your instance dashboard
b. Get your CloudAMQP URL:
- In your CloudAMQP dashboard, copy the AMQP URL
- It should look like:
amqps://username:password@host/vhost
-
Configure environment variables
# Add the following to each .env file: # customer/.env DB_URL=mongodb://localhost:27017/customer_db MONGODB_URI=mongodb://localhost:27017/customer_db APP_SECRET=your_secret_key PORT=8001 MSG_QUEUE_URL=amqps://your-cloudamqp-url # products/.env DB_URL=mongodb://localhost:27017/products_db MONGODB_URI=mongodb://localhost:27017/products_db APP_SECRET=your_secret_key PORT=8002 MSG_QUEUE_URL=amqps://your-cloudamqp-url # shopping/.env DB_URL=mongodb://localhost:27017/shopping_db MONGODB_URI=mongodb://localhost:27017/shopping_db APP_SECRET=your_secret_key PORT=8003 MSG_QUEUE_URL=amqps://your-cloudamqp-urlNote: Replace
your-cloudamqp-urlwith your actual CloudAMQP AMQP URL from step 3. -
Start services with Docker Compose
docker-compose up --build -
Access the services
- Customer Service:
http://localhost:8001 - Products Service:
http://localhost:8002 - Shopping Service:
http://localhost:8003 - Nginx Proxy:
http://localhost:80
- Customer Service:
Option 2: Manual Setup
-
Set up RabbitMQ with CloudAMQP (same as Option 1, steps 3a-3b)
-
Configure environment variables (same as Option 1, step 4)
-
Start each service individually
# Terminal 1 - Customer Service
cd backend_app/customer
npm install
npm start

# Terminal 2 - Products Service
cd backend_app/products
npm install
npm start

# Terminal 3 - Shopping Service
cd backend_app/shopping
npm install
npm start

# Terminal 4 - Gateway Service
cd backend_app/gateway
npm install
npm start
Frontend Setup
-
Navigate to frontend directory
cd Frontend_app -
Install dependencies
npm install -
Configure backend URL
# Update src/config.js with your backend URL # For local development: http://localhost:8080 or your gateway URL -
Start Metro bundler
npm start -
Run on Android
# Make sure Android emulator is running or device is connected npm run android -
Run on iOS (macOS only)
# Make sure iOS simulator is running
npm run ios
Development Tips
- Backend: Services will automatically restart when you make changes (using nodemon)
- Frontend: Metro bundler supports hot reloading
- Database: Make sure MongoDB is running if not using Docker
- RabbitMQ: Used for inter-service communication. CloudAMQP provides a free tier for development
- API Testing: Use tools like Postman to test backend endpoints
Common Issues & Solutions
- Metro bundler issues: Clear cache with
npx react-native start --reset-cache - Android build issues: Clean build with
cd android && ./gradlew clean - iOS build issues: Clean build folder in Xcode
- Docker issues: Make sure Docker is running and ports are not occupied
- RabbitMQ connection issues: Verify your CloudAMQP URL is correct and the service is running
Project Structure
├── backend_app/          # Backend microservices
│   ├── customer/         # Customer service (Port 8001)
│   ├── products/         # Products service (Port 8002)
│   ├── shopping/         # Shopping service (Port 8003)
│   ├── gateway/          # API Gateway
│   └── proxy/            # Nginx reverse proxy
└── Frontend_app/         # React Native mobile app
https://github.com/mnnkhndlwl/kharido/assets/75252077/3af07156-3c4b-4d9e-b093-87bd7400fe31
Feedback
If you have any feedback or suggestions please reach out to maintainers.
<!-- ------------------------------------------------------------------------------------------------------------------------------------------------------------------ --> <br> <div align="center"> <h3>Show some ❤️ by starring this awesome repository!</h3> </div>